I always love finding ways to take materials that normally look sort of clunky on a quilt and make them fit in much more smoothly. A good example of this is iron-on transfer paper, which is great for its quickness and how easy it is to apply, but usually just ends up looking like you've got a big old piece of plastic fused onto the surface of your quilt. I knew there had to be ways to liven up iron-ons and make them fit into a quilt seamlessly, and so I came up with several cool methods.
The first technique I'll share is the idea of temporarily leaving the paper backing on the image once you've attached it to the fabric so you can use it as a mask to apply paint or marker around the image. This technique is fun and easy!
Materials:
- Inkjet iron-on transfer paper. For this project, use the transparent kind so the texture or pattern on the fabric will show through your image.
- acrylic paints
- permanent markers such as Prismacolors.
- Light to medium colored fabric that will allow your transferred image to be visible.
note: because
you cannot apply more heat after fusing the transfers onto the fabric,
it is best to use pants and markers which do not have to be heat set,
and to reserve this technique for projects that won't have to be washed,
like quilts intended as wall art.
Here's what you do:
1. Print out a sheet of images on iron-on transfer paper. Fill up the page as much as you can, and make sure to mirror-image your design before printing if the direction matters.
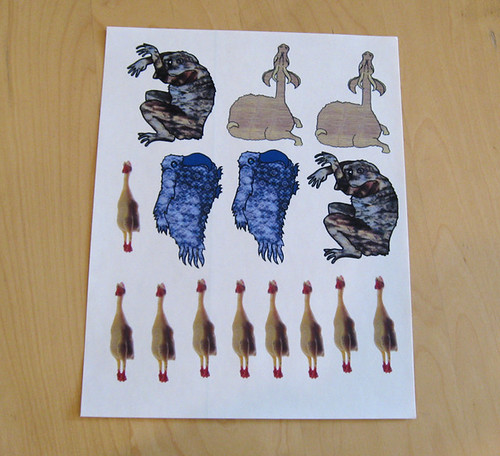 |
| I never have trouble finding images to fill my sheets! |
2. Cut out your images with scissors or a craft knife. The closer you cut to the design the better this technique will work. Ideally you want no white space around the edges.
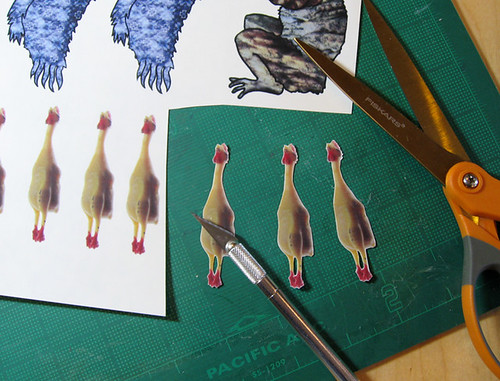 |
| Three rubber chickens cut as close as possible, ready to be fused to fabric. |
3. Iron your transfer paper onto the fabric according to the directions. Make sure to leave the paper backing securely attached at this stage.
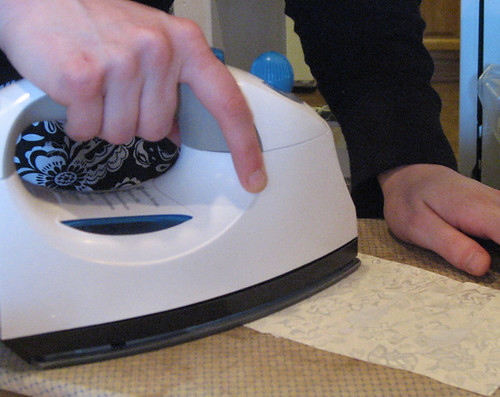 |
| Transferring the images to a white fabric with a pretty design woven into it. |
 |
| A closeup of the chickens waiting to have paint added. |
4. Paint, stamp, block print, screen print, airbrush or draw with markers all over and around your images.
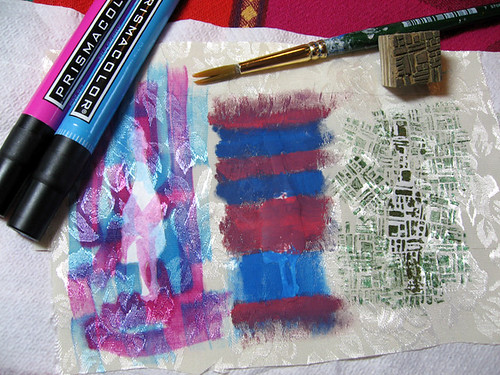 |
| From left to right: permanent marker, acrylic paint applied with a brush and then with a hand-carved stamp. |
5. Allow your paint to dry, then peel off the paper backing. The image should now stand out nicely against the fabric and at the same time feel more integrated into your project than if you had used iron on transfers by themselves.
 |
| The chickens with paint and marker perfectly placed around them. |
The colors I used for this tutorial are extremely bold and badly matched, and I picked them because they stand out nicely, but it is very easy to achieve much more subtle and attractive effects.
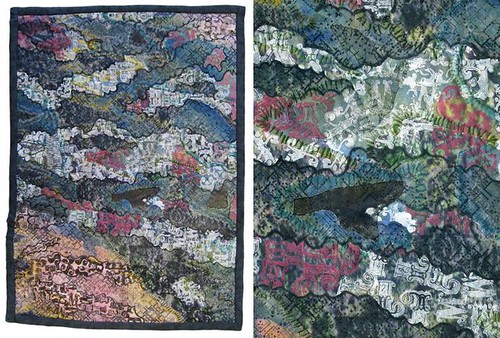 |
| This quilt is the background for my blog. I carefully cut shapes from transfer paper and fused them onto a surface of inkjet printed fabric with embroidery, then applied paint using alphabet stamps to create an intricate texture. |
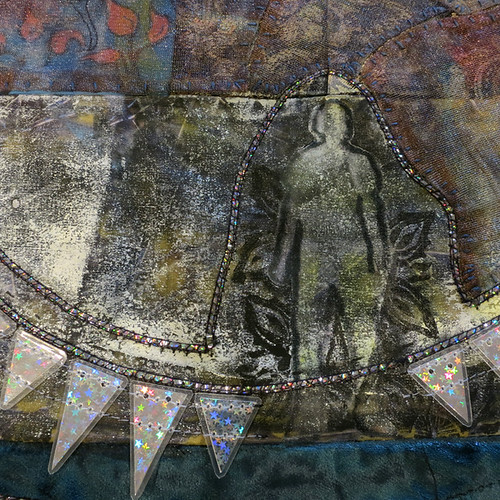 |
| A drawing printed onto iron-on transfer paper, with hand-carved stamped images applied around the figure. |

It is amazing to see the difference in applictaion between teh rubber chicken examples and the quilt you use as the background. very cool.
ReplyDeleteAlso, "fit into a quilt seamlessly,"...hee!
This is such a neat, smart idea.
ReplyDeleteAs we have learned from our crafting day, I am a messy, impatient person, so I am extra appreciative of the way this makes such a clean, still integrated effect.