As part of my plan to actually get out of my apartment and involve myself in the various arts communities here in New York, I am setting a goal for myself to attend and review as many art shows as possible locally, as well as wherever I happen to be. Many if not most of these shows will probably have nothing to do with quilting or fiber art, but I think that should be okay, since art is an important part of my life no matter what medium it's made from.
The show I visited this past Saturday is called "Know Gays Aloud," and will be on view at an East Harlem gallery called
Art for Change through June 23rd. Art for Change is a nonprofit organization whose mission includes a strong focus on community building and social justice. They attempt to create themes for their art shows that enable local artists to weigh in on important community issues ranging from local to international. While I only found out about Art for Change last week, they've been pursuing their mission for a long time:
"Founded
in 1997 by Eliana Godoy and receiving non-profit status in September
2001, Art for Change (AfC) is an organization expressly dedicated to the
utilization of art as a stimulus for social change. Based in “El
Barrio,” or East Harlem, New York City, AfC has extensive experience in
reaching out to disadvantaged youth, with a significant number of
Hispanic clients. As an entirely volunteer-run association, AfC
continues to draw from a diverse and vibrant network of volunteers – a
strength in its outreach, fundraising and administration. The commitment
of its volunteers is demonstrated in the willingness to donate their
talents in administrative duties, as well as film-making, murals and
youth outreach. AfC has worked with youth and families since its
inception, through a variety of programs: the organization of a youth
music festival in Uyuni , Bolivia ; Art and Technology, training youth
in digital media; a youth internship program; and exhibits and
performances by youth in AfC’s gallery space."
When I read about the current show at Art for Change, "Know Gays Aloud," it sounded appealing to me on two levels. First, I believe that the direction this country takes in its official policies towards gender identity and sexual orientation will be
absolutely vital in determining what kind of society we want to create, and will have wide-ranging implications for how we exist in the wider world and what kind of example we will set for how humans should treat each other when resolving struggles of all kinds. Second, I simply think that there is a lot of artwork being created at the moment that is interesting and beautiful whether or not one is aware of its connection to current LGBT political issues. I've always appreciated visual art that is appealing both within and independently from the statement it was created to communicate.
One more quote from Art for Change's website before I get to the work. Here is their description for "Know Gays Aloud":
"The
LGBT community has struggled to ensure equality of their civil
liberties for over three decades. Though there has been significant
progress in obtaining equal rights in the United States, such as the
recent vote that passed a marriage equality law in New York, violence
still persists against the LGBT community especially in minority
populations. The increase in hostility towards the LGBT community in the
Caribbean, the Middle East, and Africa has led to a rise in murders and
teen suicides, notably for the transgendered. In Puerto Rico, even
though murders of transgendered are becoming more frequent, the
government is seeking to take these crimes off of the list of hate
crimes, further justifying these acts of violence. This exhibition aims
to expose the violence and prejudice that LGBT communities of color have
endured through systematic cultural and religious persecution. Art for
Change seeks work that reacts to this injustice."
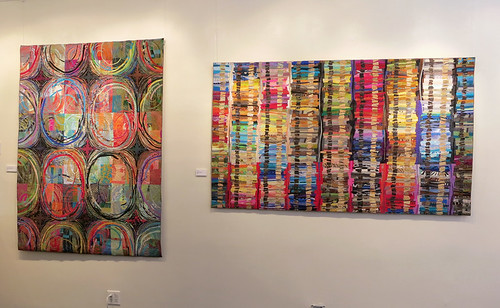
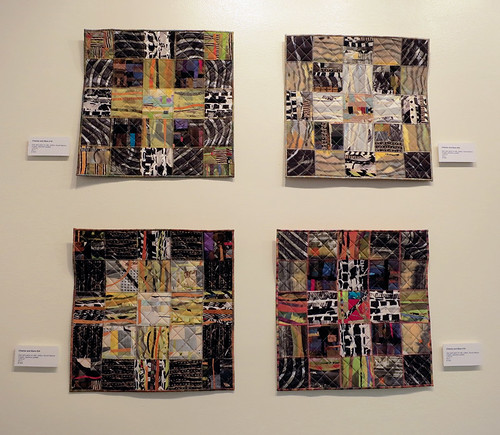
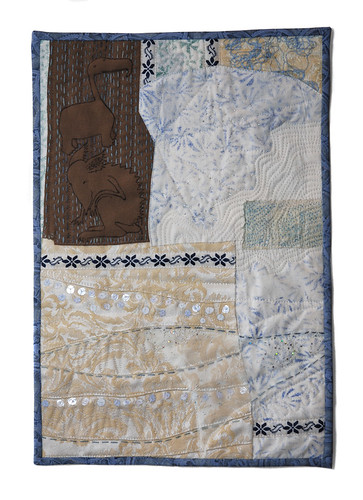
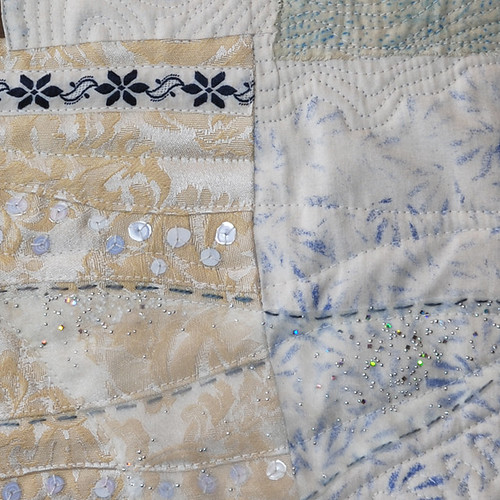
"Know Gays Aloud" is a group show, and here is a sampling of photos I took during my visit. As always, please forgive the poor quality of the images, and go see the work in person to get the full effect!
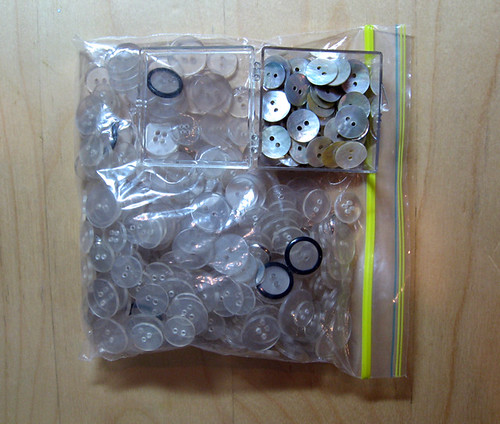
Darlene Aschbacher's piece, "Extended Obituary." According to Aschbacher's artist statement, "Nearly 200 transphobic murders were painstakingly recorded last year by the Transrespect vs. Transphobia project. Statistics suggest that Brazil, the U.S. and Honduras rank at the top with Brazil accounting for more than half of the transphobic murders. Between November 28, 2010 and January 9th, 2011 trans people were slaughtered at a rate of more than one a week in Honduras, a population smaller than London. Using a specific image on a specific day from the New York Times obituary page, I recreate these images onto 5"x5" paper. My current work, 'Extended Obituary,' is a perpetual work in progress."
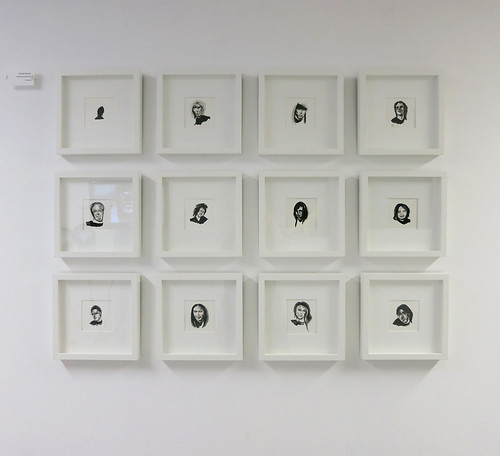 |
| "Extended Obituary," by Darlene Aschbacher |
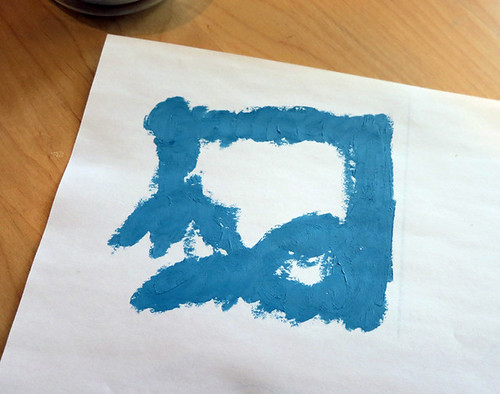
"Objeto de la Nueva España 1," by
Felipe Baeza, who writes: "As a Mexican, I belong to a population absent from U.S. cultural and historical production, and often referred to as 'illegal.' Within this context, printmaking becomes a response to the exclusionary history, media and texts populating my upbringing."
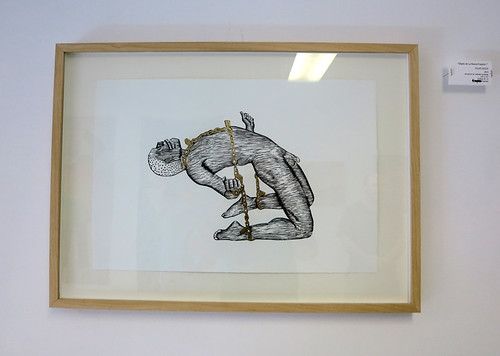 |
| "Objeto de la Nueva España 1," by Felipe Baeza. |
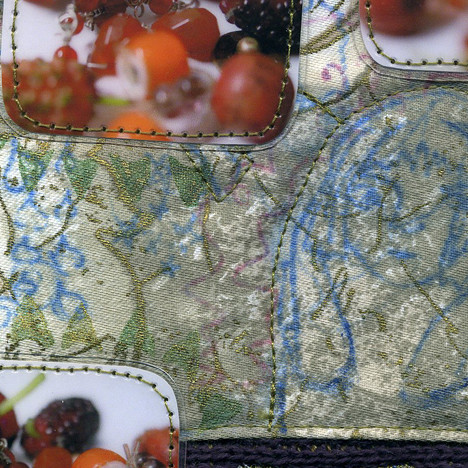
"Inferior Interior," by Rochelle Williams. I wasn't able to find a website for Ms. Williams, but if she's out there and would like to send me a link, I'll definitely add it to this post!
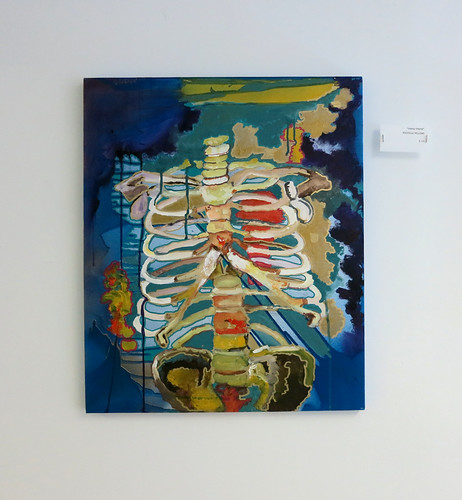 |
| "Inferior Interior," by Rochelle Williams. |
Black and white painting by artist
Ivan Velez, plus my possibly favorite work from the show, his nine-panel comic "If," which is super sweet and poignant.
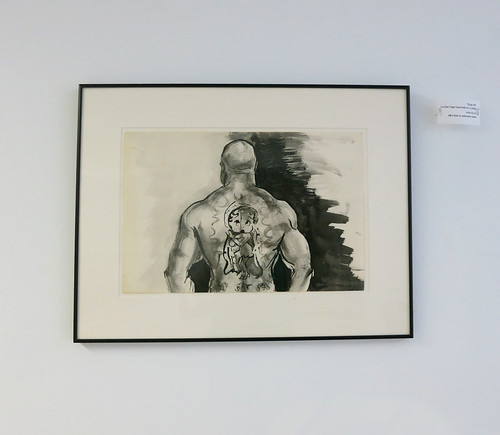 |
| "Chulo #3 (La Gran Virgen Santa Betty de la Boop," by Ivan Velez. |
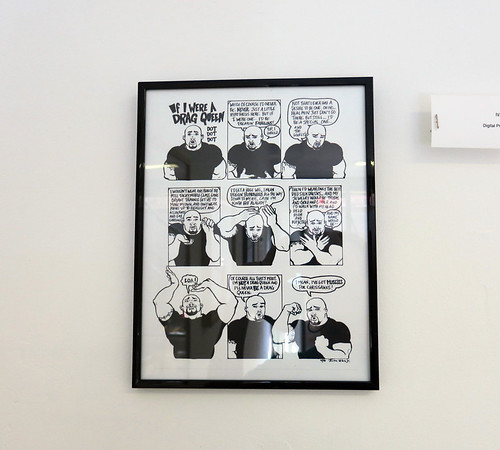 |
| "If," by Ivan Velez. |
Other artists whose work is featured in this show include: D. Shayne Aldrich, Ryan William Turley, Christopher Udemezue, Micaela Anaya, Michael J. DiRaimondo, Olivia Frazao, Paul Baker Prindle, Rory Golden, Nicole Goodwin, and Cecilia Givens.
If you would like to visit the gallery, they are located at 1699 Lexington Ave, between 106th & 107th streets, in a basement-level storefront. Their hours are Saturdays from 1-5pm.